Flutter pin code input


 |
|  |
|  |
| Rounded Filled | With Bottom Cursor | Filled |
| - | - | - |
|
|
| Rounded Filled | With Bottom Cursor | Filled |
| - | - | - |
|  |
|  |
|  |
## Getting Started
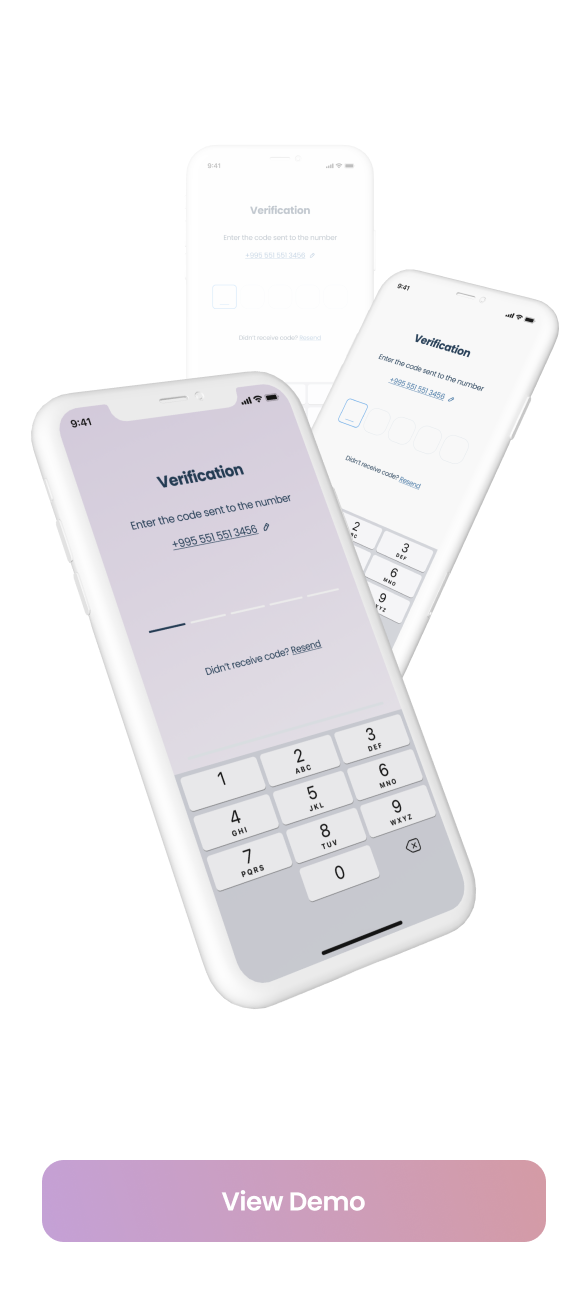
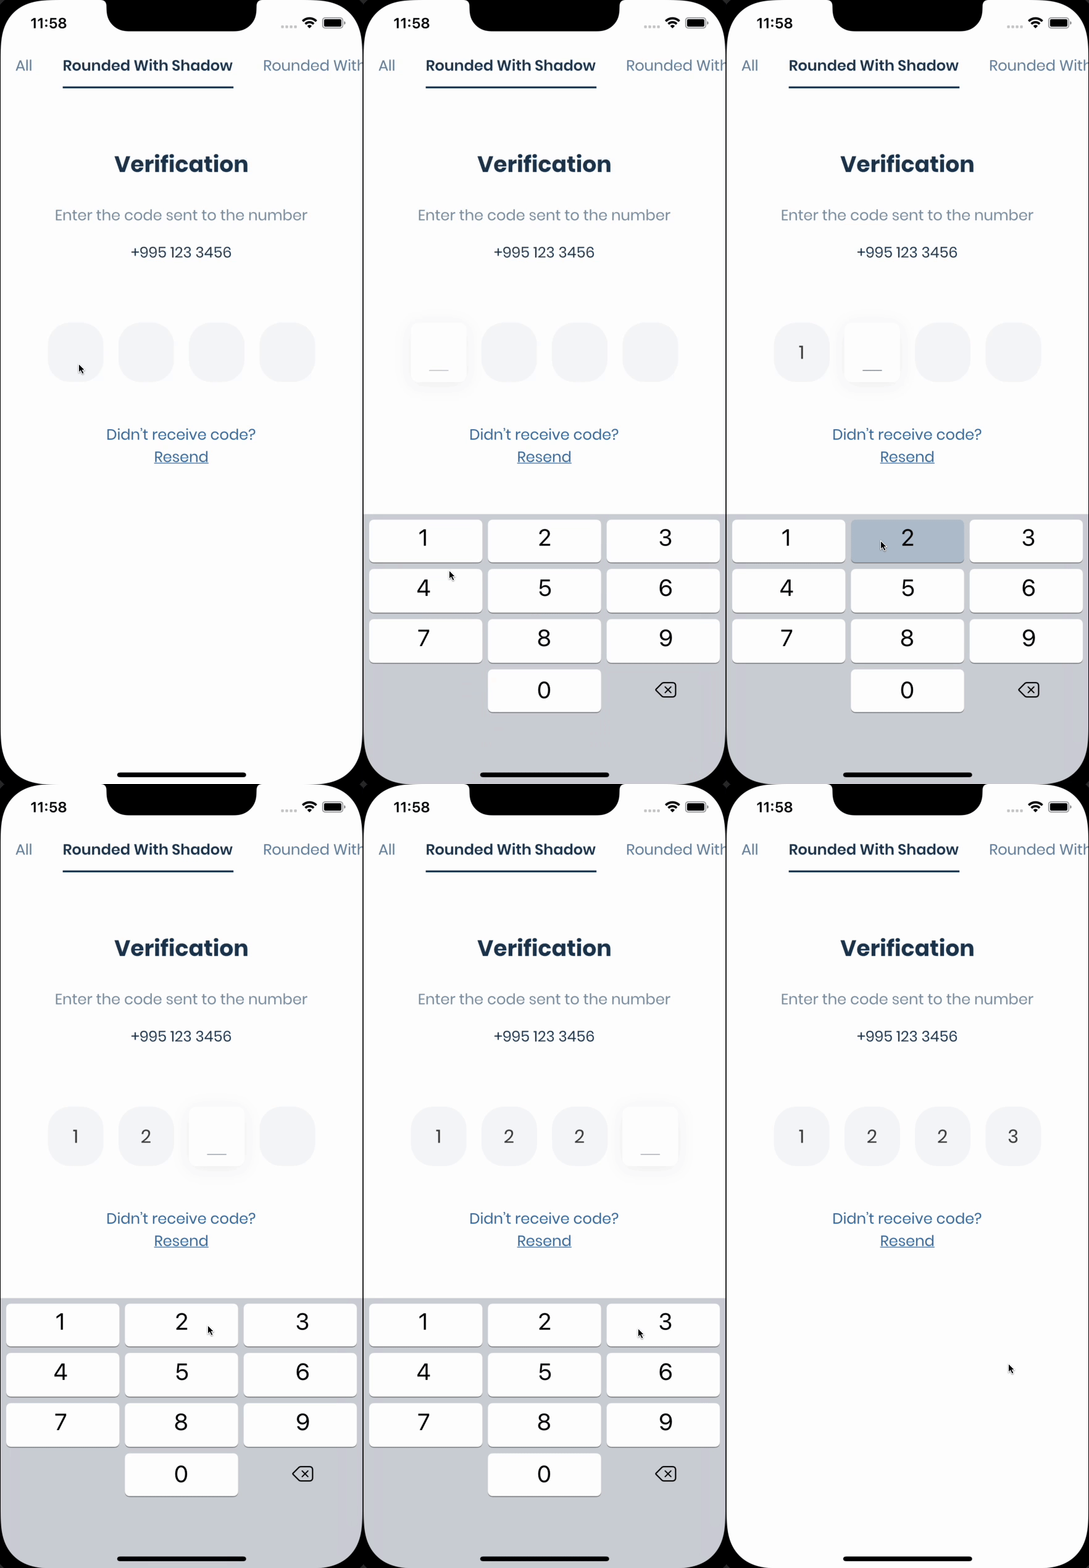
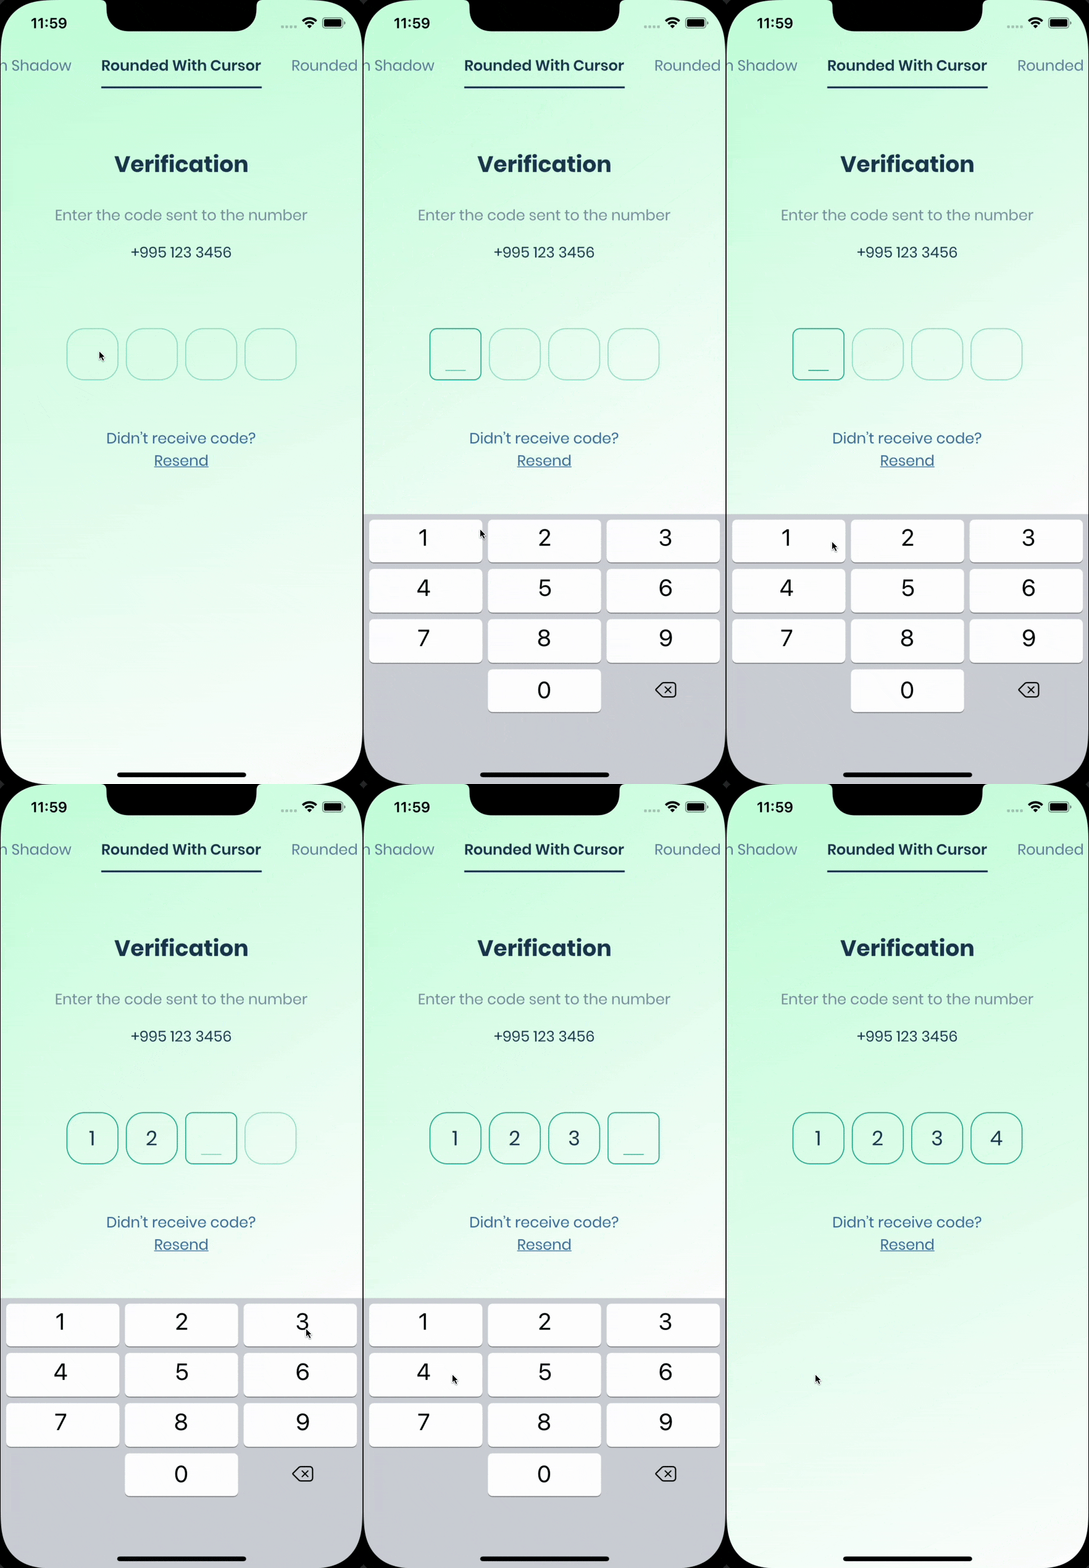
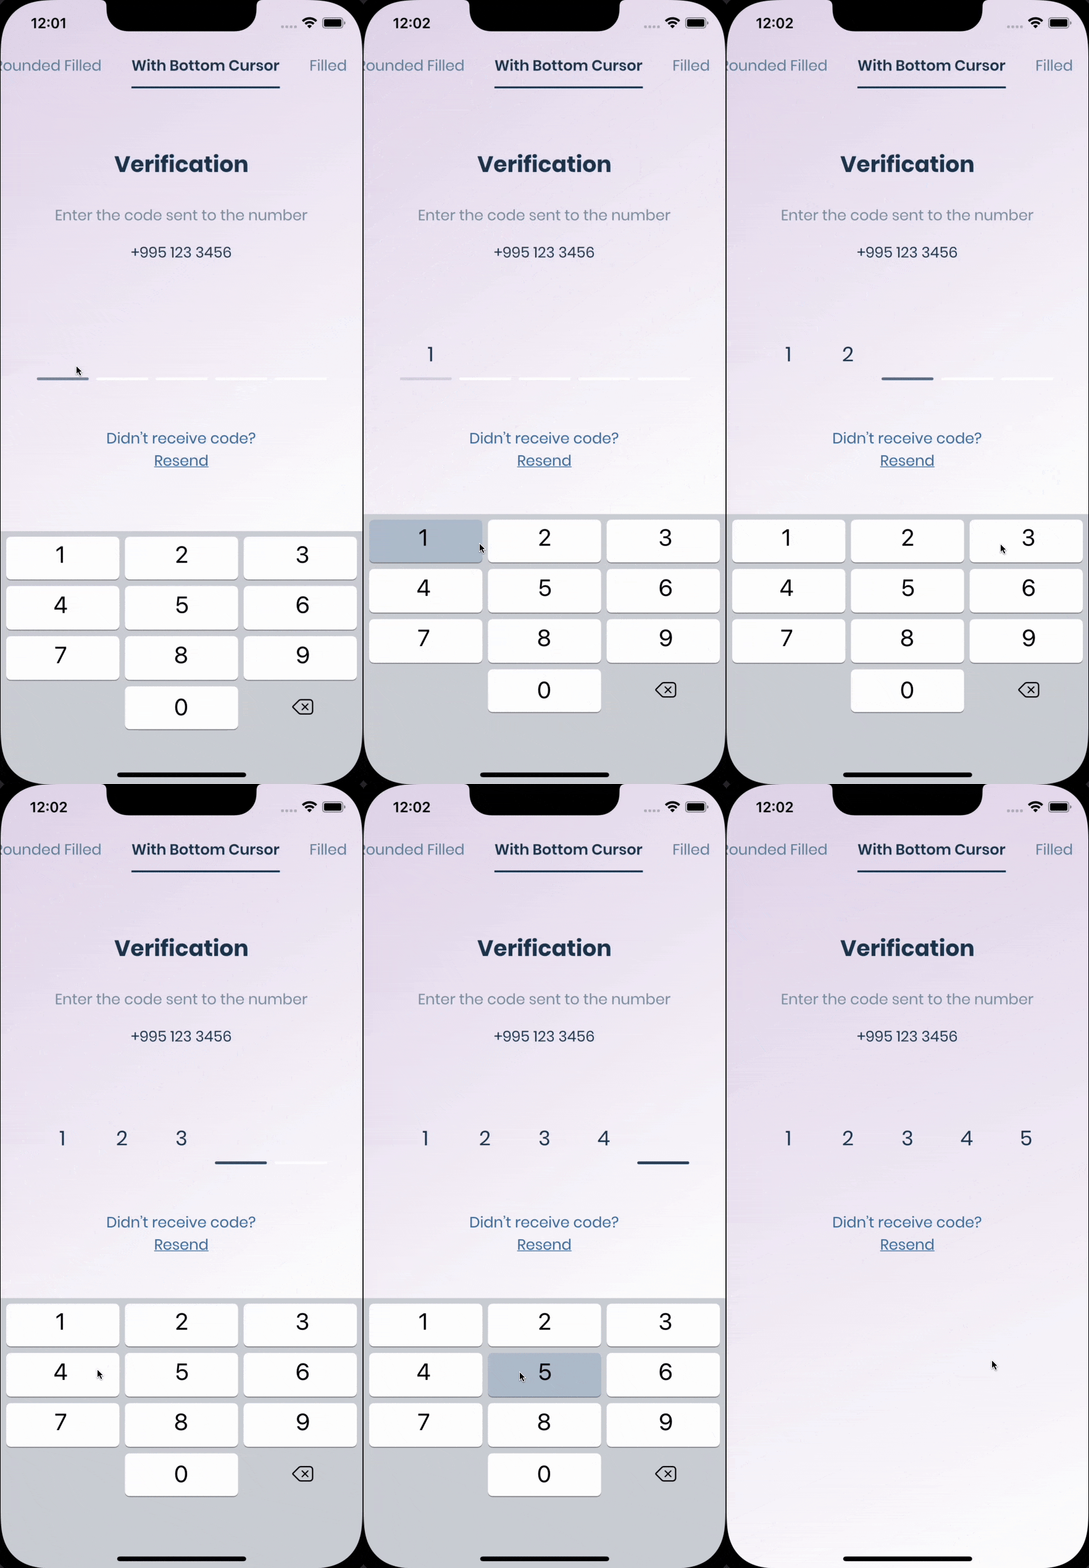
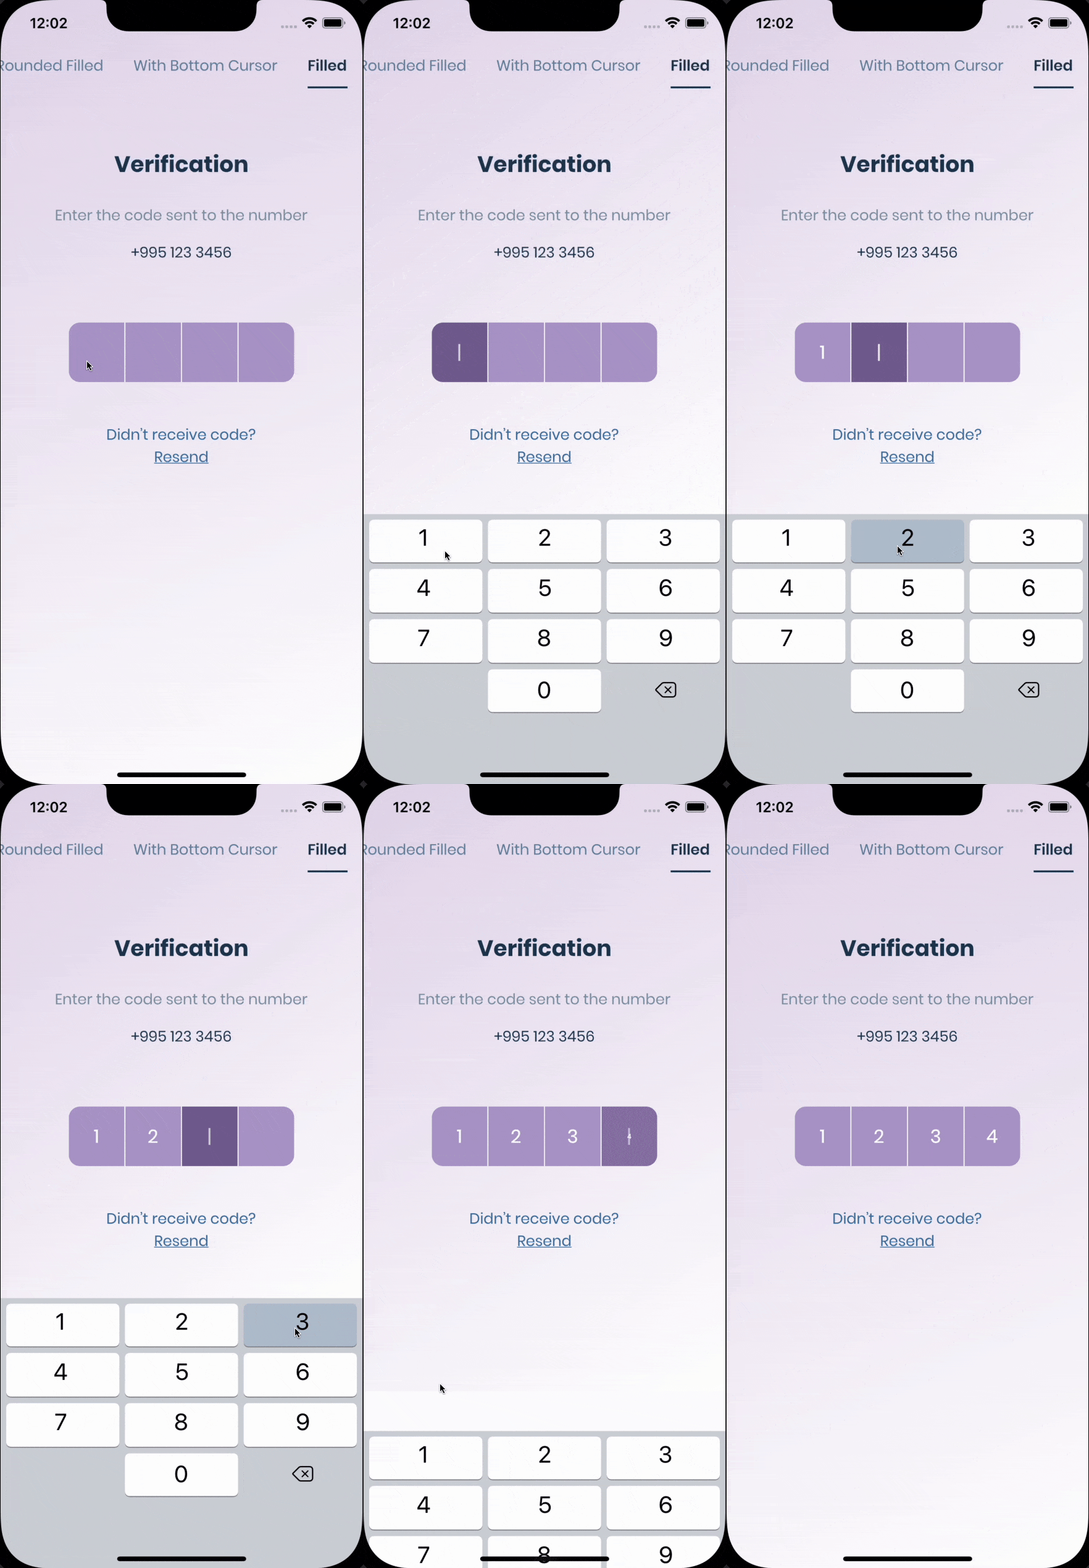
The pin has 6 states `default` `focused`, `submitted`, `following`, `disabled`, `error`, you can customize each state by specifying theme parameter.
Pin smoothly animates from one state to another automatically.
`PinTheme Class`
| Property | Default/Type |
|-------------|:------------------:|
| width | 56.0 |
| height | 60.0 |
| textStyle | TextStyle() |
| margin | EdgeInsetsGeometry |
| padding | EdgeInsetsGeometry |
| constraints | BoxConstraints |
You can use standard Pinput like so
```dart
Widget buildPinPut() {
return Pinput(
onCompleted: (pin) => print(pin),
);
}
```
If you want to customize it, create `defaultPinTheme` first.
```dart
final defaultPinTheme = PinTheme(
width: 56,
height: 56,
textStyle: TextStyle(fontSize: 20, color: Color.fromRGBO(30, 60, 87, 1), fontWeight: FontWeight.w600),
decoration: BoxDecoration(
border: Border.all(color: Color.fromRGBO(234, 239, 243, 1)),
borderRadius: BorderRadius.circular(20),
),
);
```
if you want all pins to be the same don't pass other theme parameters,
If not, create `focusedPinTheme`, `submittedPinTheme`, `followingPinTheme`, `errorPinTheme` from `defaultPinTheme`
```dart
final focusedPinTheme = defaultPinTheme.copyDecorationWith(
border: Border.all(color: Color.fromRGBO(114, 178, 238, 1)),
borderRadius: BorderRadius.circular(8),
);
final submittedPinTheme = defaultPinTheme.copyWith(
decoration: defaultPinTheme.decoration.copyWith(
color: Color.fromRGBO(234, 239, 243, 1),
),
);
```
Put everything together
```dart
final defaultPinTheme = PinTheme(
width: 56,
height: 56,
textStyle: TextStyle(fontSize: 20, color: Color.fromRGBO(30, 60, 87, 1), fontWeight: FontWeight.w600),
decoration: BoxDecoration(
border: Border.all(color: Color.fromRGBO(234, 239, 243, 1)),
borderRadius: BorderRadius.circular(20),
),
);
final focusedPinTheme = defaultPinTheme.copyDecorationWith(
border: Border.all(color: Color.fromRGBO(114, 178, 238, 1)),
borderRadius: BorderRadius.circular(8),
);
final submittedPinTheme = defaultPinTheme.copyWith(
decoration: defaultPinTheme.decoration.copyWith(
color: Color.fromRGBO(234, 239, 243, 1),
),
);
return Pinput(
defaultPinTheme: defaultPinTheme,
focusedPinTheme: focusedPinTheme,
submittedPinTheme: submittedPinTheme,
validator: (s) {
return s == '2222' ? null : 'Pin is incorrect';
},
pinputAutovalidateMode: PinputAutovalidateMode.onSubmit,
showCursor: true,
onCompleted: (pin) => print(pin),
);
```
## SMS Autofill
### iOS
Works out of the box, by tapping the code on top of the keyboard
### Android
If you are using [firebase_auth](https://firebase.flutter.dev/docs/auth/phone#verificationcompleted) you have to set `controller'`s value in `verificationCompleted` callback, here is an example code:
``` dart
Pinput(
controller: pinController,
);
```
And set pinController's value in `verificationCompleted` callback:
``` dart
await FirebaseAuth.instance.verifyPhoneNumber(
verificationCompleted: (PhoneAuthCredential credential) {
pinController.setText(credential.smsCode);
},
verificationFailed: (FirebaseAuthException e) {},
codeSent: (String verificationId, int? resendToken) {},
codeAutoRetrievalTimeout: (String verificationId) {},
);
```
---
If you aren't using firebase_auth, you have two options, [SMS Retriever API](https://developers.google.com/identity/sms-retriever/overview?hl=en) and [SMS User Consent API](https://developers.google.com/identity/sms-retriever/user-consent/overview),
[SmartAuth](https://pub.dev/packages/smart_auth) is a wrapper package for Flutter for these APIs, so go ahead and add it as a dependency.
###### SMS Retriever API
To use Retriever API you need the App signature - [guide](https://stackoverflow.com/questions/53849023/android-sms-retriever-api-computing-apps-hash-string-problem)
`Note that The App Signature might be different for debug and release mode`
Once you get the app signature, you should include it in the SMS message in you backend like so:
SMS example:
```
Your ExampleApp code is: 123456
kg+TZ3A5qzS
```
[Example Code](/example/lib/demo/sms_retriever_api_example.dart)
Sms code will be automatically applied, without user interaction.
###### SMS User Consent API
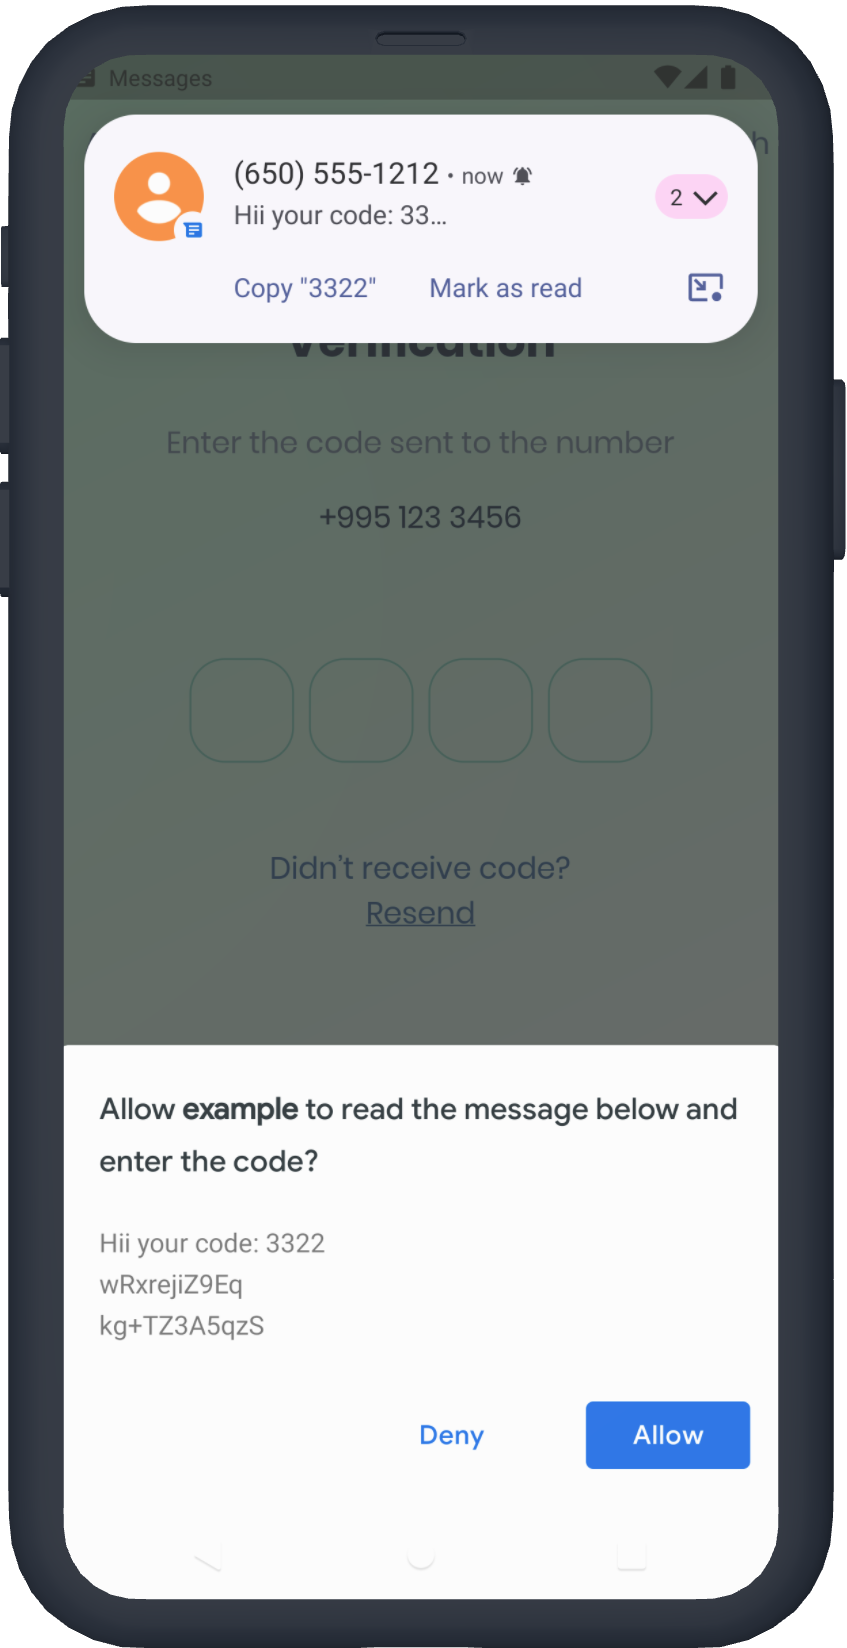
You don't need the App signature, the user will be prompted to confirm reading the message
[Example Code](/example/lib/demo/user_consent_api_example.dart)
|
## Getting Started
The pin has 6 states `default` `focused`, `submitted`, `following`, `disabled`, `error`, you can customize each state by specifying theme parameter.
Pin smoothly animates from one state to another automatically.
`PinTheme Class`
| Property | Default/Type |
|-------------|:------------------:|
| width | 56.0 |
| height | 60.0 |
| textStyle | TextStyle() |
| margin | EdgeInsetsGeometry |
| padding | EdgeInsetsGeometry |
| constraints | BoxConstraints |
You can use standard Pinput like so
```dart
Widget buildPinPut() {
return Pinput(
onCompleted: (pin) => print(pin),
);
}
```
If you want to customize it, create `defaultPinTheme` first.
```dart
final defaultPinTheme = PinTheme(
width: 56,
height: 56,
textStyle: TextStyle(fontSize: 20, color: Color.fromRGBO(30, 60, 87, 1), fontWeight: FontWeight.w600),
decoration: BoxDecoration(
border: Border.all(color: Color.fromRGBO(234, 239, 243, 1)),
borderRadius: BorderRadius.circular(20),
),
);
```
if you want all pins to be the same don't pass other theme parameters,
If not, create `focusedPinTheme`, `submittedPinTheme`, `followingPinTheme`, `errorPinTheme` from `defaultPinTheme`
```dart
final focusedPinTheme = defaultPinTheme.copyDecorationWith(
border: Border.all(color: Color.fromRGBO(114, 178, 238, 1)),
borderRadius: BorderRadius.circular(8),
);
final submittedPinTheme = defaultPinTheme.copyWith(
decoration: defaultPinTheme.decoration.copyWith(
color: Color.fromRGBO(234, 239, 243, 1),
),
);
```
Put everything together
```dart
final defaultPinTheme = PinTheme(
width: 56,
height: 56,
textStyle: TextStyle(fontSize: 20, color: Color.fromRGBO(30, 60, 87, 1), fontWeight: FontWeight.w600),
decoration: BoxDecoration(
border: Border.all(color: Color.fromRGBO(234, 239, 243, 1)),
borderRadius: BorderRadius.circular(20),
),
);
final focusedPinTheme = defaultPinTheme.copyDecorationWith(
border: Border.all(color: Color.fromRGBO(114, 178, 238, 1)),
borderRadius: BorderRadius.circular(8),
);
final submittedPinTheme = defaultPinTheme.copyWith(
decoration: defaultPinTheme.decoration.copyWith(
color: Color.fromRGBO(234, 239, 243, 1),
),
);
return Pinput(
defaultPinTheme: defaultPinTheme,
focusedPinTheme: focusedPinTheme,
submittedPinTheme: submittedPinTheme,
validator: (s) {
return s == '2222' ? null : 'Pin is incorrect';
},
pinputAutovalidateMode: PinputAutovalidateMode.onSubmit,
showCursor: true,
onCompleted: (pin) => print(pin),
);
```
## SMS Autofill
### iOS
Works out of the box, by tapping the code on top of the keyboard
### Android
If you are using [firebase_auth](https://firebase.flutter.dev/docs/auth/phone#verificationcompleted) you have to set `controller'`s value in `verificationCompleted` callback, here is an example code:
``` dart
Pinput(
controller: pinController,
);
```
And set pinController's value in `verificationCompleted` callback:
``` dart
await FirebaseAuth.instance.verifyPhoneNumber(
verificationCompleted: (PhoneAuthCredential credential) {
pinController.setText(credential.smsCode);
},
verificationFailed: (FirebaseAuthException e) {},
codeSent: (String verificationId, int? resendToken) {},
codeAutoRetrievalTimeout: (String verificationId) {},
);
```
---
If you aren't using firebase_auth, you have two options, [SMS Retriever API](https://developers.google.com/identity/sms-retriever/overview?hl=en) and [SMS User Consent API](https://developers.google.com/identity/sms-retriever/user-consent/overview),
[SmartAuth](https://pub.dev/packages/smart_auth) is a wrapper package for Flutter for these APIs, so go ahead and add it as a dependency.
###### SMS Retriever API
To use Retriever API you need the App signature - [guide](https://stackoverflow.com/questions/53849023/android-sms-retriever-api-computing-apps-hash-string-problem)
`Note that The App Signature might be different for debug and release mode`
Once you get the app signature, you should include it in the SMS message in you backend like so:
SMS example:
```
Your ExampleApp code is: 123456
kg+TZ3A5qzS
```
[Example Code](/example/lib/demo/sms_retriever_api_example.dart)
Sms code will be automatically applied, without user interaction.
###### SMS User Consent API
You don't need the App signature, the user will be prompted to confirm reading the message
[Example Code](/example/lib/demo/user_consent_api_example.dart)
 ## See Example app for more [templates](https://github.com/Tkko/Flutter_PinPut/tree/master/example/lib)
## Tips
- #### Controller
```dart
/// Create Controller
final pinController = TextEditingController();
/// Set text programmatically
pinController.setText('1222');
/// Append typed character, useful if you are using custom keyboard
pinController.append('1', 4);
/// Delete last character
pinController.delete();
/// Don't call setText, append, delete in build method, this is just illustration.
return Pinput(
controller: pinController,
);
```
- #### Focus
```dart
/// Create FocusNode
final pinputFocusNode = FocusNode();
/// Focus pinput
pinputFocusNode.requestFocus();
/// UnFocus pinput
pinputFocusNode.unfocus();
/// Don't call requestFocus, unfocus in build method, this is just illustration.
return Pinput(
focusNode: pinputFocusNode,
);
```
- #### Validation
```dart
/// Create key
final formKey = GlobalKey
## See Example app for more [templates](https://github.com/Tkko/Flutter_PinPut/tree/master/example/lib)
## Tips
- #### Controller
```dart
/// Create Controller
final pinController = TextEditingController();
/// Set text programmatically
pinController.setText('1222');
/// Append typed character, useful if you are using custom keyboard
pinController.append('1', 4);
/// Delete last character
pinController.delete();
/// Don't call setText, append, delete in build method, this is just illustration.
return Pinput(
controller: pinController,
);
```
- #### Focus
```dart
/// Create FocusNode
final pinputFocusNode = FocusNode();
/// Focus pinput
pinputFocusNode.requestFocus();
/// UnFocus pinput
pinputFocusNode.unfocus();
/// Don't call requestFocus, unfocus in build method, this is just illustration.
return Pinput(
focusNode: pinputFocusNode,
);
```
- #### Validation
```dart
/// Create key
final formKey = GlobalKey