# collective.experimental_angular_pwa
**Repository Path**: mirrors_collective/collective.experimental_angular_pwa
## Basic Information
- **Project Name**: collective.experimental_angular_pwa
- **Description**: No description available
- **Primary Language**: Unknown
- **License**: Not specified
- **Default Branch**: master
- **Homepage**: None
- **GVP Project**: No
## Statistics
- **Stars**: 0
- **Forks**: 0
- **Created**: 2020-08-19
- **Last Updated**: 2026-07-18
## Categories & Tags
**Categories**: Uncategorized
**Tags**: None
## README
# collective.experimental_angular_pwa
## Overview
An Ionic 2 app which in turn will be using Angular 2 that will implement the PWA behavior. It will retrieve the contents from the Plone site using the Plone REST API. Based on the proposal given in GSoC '17 by Noel Varghese. [Link](https://docs.google.com/document/d/1yQI73kVzspbytRlKzbxiBVMr1ERFwda5M-W7sc74gGc/edit?usp=sharing) to the proposal.
## Demo Screenshots
* Main Components
* Login Screen
* Main menu
* Global Navigation(Side Nav)
* Options Popover accessible on each page
* Settings page
* Toast to indicate offline mode is active


 * Plone Content Types
* Collection
* Document
* Event
* File
* Folder
* Image
* Link
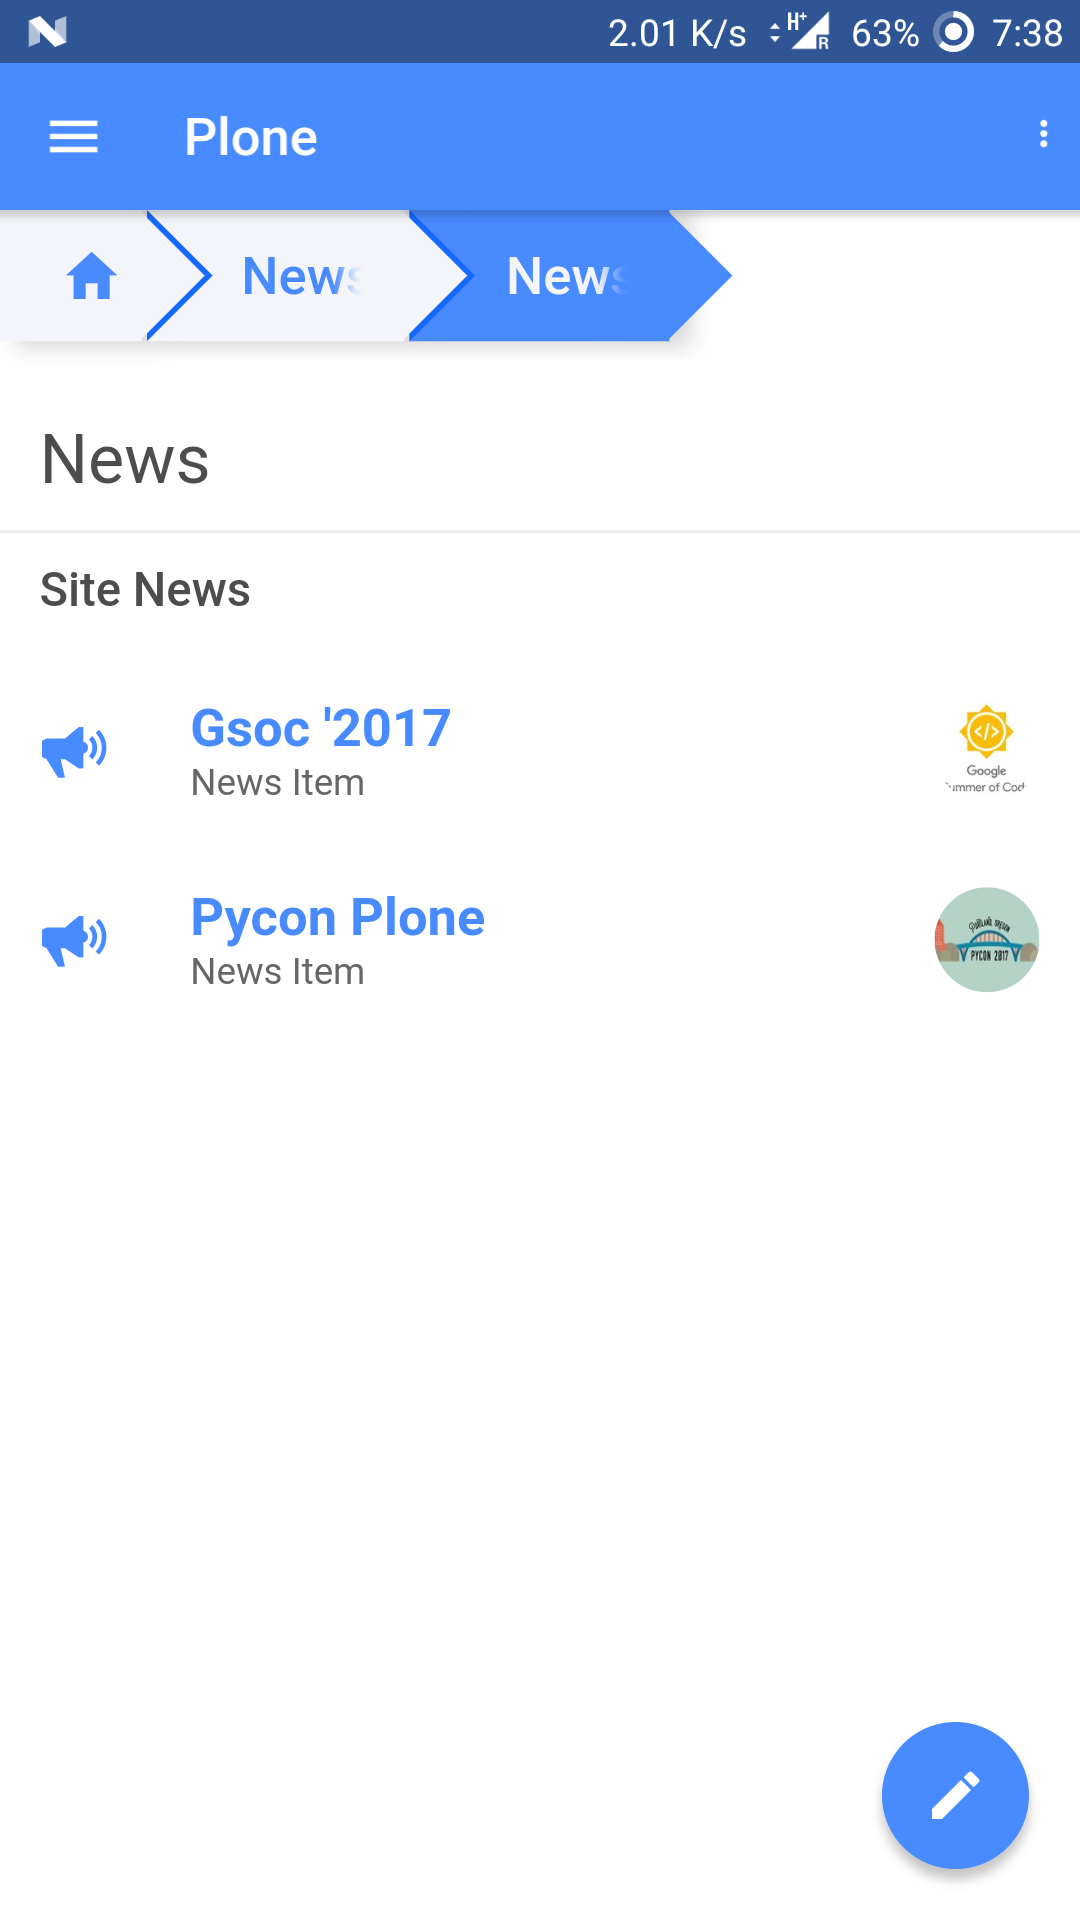
* News Item
* Plone Content Types
* Collection
* Document
* Event
* File
* Folder
* Image
* Link
* News Item


 * Searching
* Search results page
* Sorting results
* Filtering results
* Searching
* Search results page
* Sorting results
* Filtering results


 * Comments
 page
* Offline comments
* Comments
* Comments page
* Offline comments

 * Editing
* Action sheet for editing and commenting opens on pressing the edit FAB in the bottom right corner of views that are editable.
* Medium editor in edit view
* Editing
* Action sheet for editing and commenting opens on pressing the edit FAB in the bottom right corner of views that are editable.
* Medium editor in edit view

 ## Documentation
See [documentation folder](https://github.com/collective/collective.experimental_angular_pwa/tree/master/docs).
## Getting Started
The nodejs version being used is 7.7.3.
Clone the repository, in the project's root directory, run the command:
```
npm install or npm i
```
This will install all the necessary node modules required to run this project.
Then launch
```
ionic serve
```
this runs the app in development mode. Open [http://localhost:8100](http://localhost:8100) to view it in the browser.
Use the credentials admin:admin to login in to the app.
## Setting up the backend
The app is by default using http://angular-plone.herokuapp.com/Plone as the backend, it is recommended you change this for your personal development and testing purposes. There are two ways you can do this, either by hosting on the plone instance on your local machine or deploying an instance on heroku. It is favourable to use the former method as heroku will have storage restrictions.
1. To set up Plone + plone.restapi you can follow these steps:
````
Checkout https://github.com/plone/plone.restapi
then set up a Python virtualenv
and then:
python bootstrap.py
bin/buildout -Nv -c plone-5.0.x.cfg
and you will get a Plone instance with restapi
````
The plone instance will be run on http://localhost:8080/Plone,
replace the default backend by this.
2. To set up the backend on heroku, go to https://github.com/plone/heroku-button-plone, clicking on the deploy to heroku button will take you to the heroku dashboard. Select the app name and deploy the plone instance. It will run on [AppName].herokuapp.com/Plone, replace the default backend by this one.
After you get the plone instance running, go to site setup -> add-ons, and enable the plone restapi add-on.
## Built With
* [Ionic 2](http://ionicframework.com/docs/) - Framework to create cross-platform mobile applications
* [Plone Restapi Angular](https://github.com/plone/plone.restapi-angular) - Package to help build Angular application based on Plone Rest Api
* [Angular2 schema form](https://github.com/makinacorpus/angular2-schema-form) - Angular2 module allowing you to instanciate an HTML form from a JSON schema.
* [Angular Medium Editor](https://github.com/kitconcept/angular-medium-editor) - Angular2 component for medium editor
## Documentation
See [documentation folder](https://github.com/collective/collective.experimental_angular_pwa/tree/master/docs).
## Getting Started
The nodejs version being used is 7.7.3.
Clone the repository, in the project's root directory, run the command:
```
npm install or npm i
```
This will install all the necessary node modules required to run this project.
Then launch
```
ionic serve
```
this runs the app in development mode. Open [http://localhost:8100](http://localhost:8100) to view it in the browser.
Use the credentials admin:admin to login in to the app.
## Setting up the backend
The app is by default using http://angular-plone.herokuapp.com/Plone as the backend, it is recommended you change this for your personal development and testing purposes. There are two ways you can do this, either by hosting on the plone instance on your local machine or deploying an instance on heroku. It is favourable to use the former method as heroku will have storage restrictions.
1. To set up Plone + plone.restapi you can follow these steps:
````
Checkout https://github.com/plone/plone.restapi
then set up a Python virtualenv
and then:
python bootstrap.py
bin/buildout -Nv -c plone-5.0.x.cfg
and you will get a Plone instance with restapi
````
The plone instance will be run on http://localhost:8080/Plone,
replace the default backend by this.
2. To set up the backend on heroku, go to https://github.com/plone/heroku-button-plone, clicking on the deploy to heroku button will take you to the heroku dashboard. Select the app name and deploy the plone instance. It will run on [AppName].herokuapp.com/Plone, replace the default backend by this one.
After you get the plone instance running, go to site setup -> add-ons, and enable the plone restapi add-on.
## Built With
* [Ionic 2](http://ionicframework.com/docs/) - Framework to create cross-platform mobile applications
* [Plone Restapi Angular](https://github.com/plone/plone.restapi-angular) - Package to help build Angular application based on Plone Rest Api
* [Angular2 schema form](https://github.com/makinacorpus/angular2-schema-form) - Angular2 module allowing you to instanciate an HTML form from a JSON schema.
* [Angular Medium Editor](https://github.com/kitconcept/angular-medium-editor) - Angular2 component for medium editor